Mastering the Art of a Satin Finish: Your Guide to a Subtle, Elegant Look
A satin finish strikes the perfect balance between gloss and matte, offering a smooth, elegant sheen that is both modern and timeless. Whether you’re updating furniture, walls, or décor elements, achieving the perfect satin finish involves careful preparation, the right products, and precise techniques.
Step 1: Surface Preparation for a Seamless Satin Finish
Preparation is the foundation of any quality finish. Here’s how to get started:
- Thorough Cleaning: Remove dirt, grease, and debris to ensure a smooth application.
- Sanding for Smoothness: Sand the surface evenly to eliminate imperfections. Start with coarse grit and gradually move to finer grits.
- Filling Imperfections: Fill cracks, holes, or gaps with a suitable filler. Let it dry completely and sand the area for a flush surface.
- Apply a Base Primer: If painting, a primer tailored for satin finishes helps achieve uniformity and enhances adhesion.
Step 2: Application Tips for a Satin Finish That Stands Out
Achieving a satin finish requires attention to detail during application:
- Choose High-Quality Products: Invest in a reliable satin paint or finish product for consistent results.
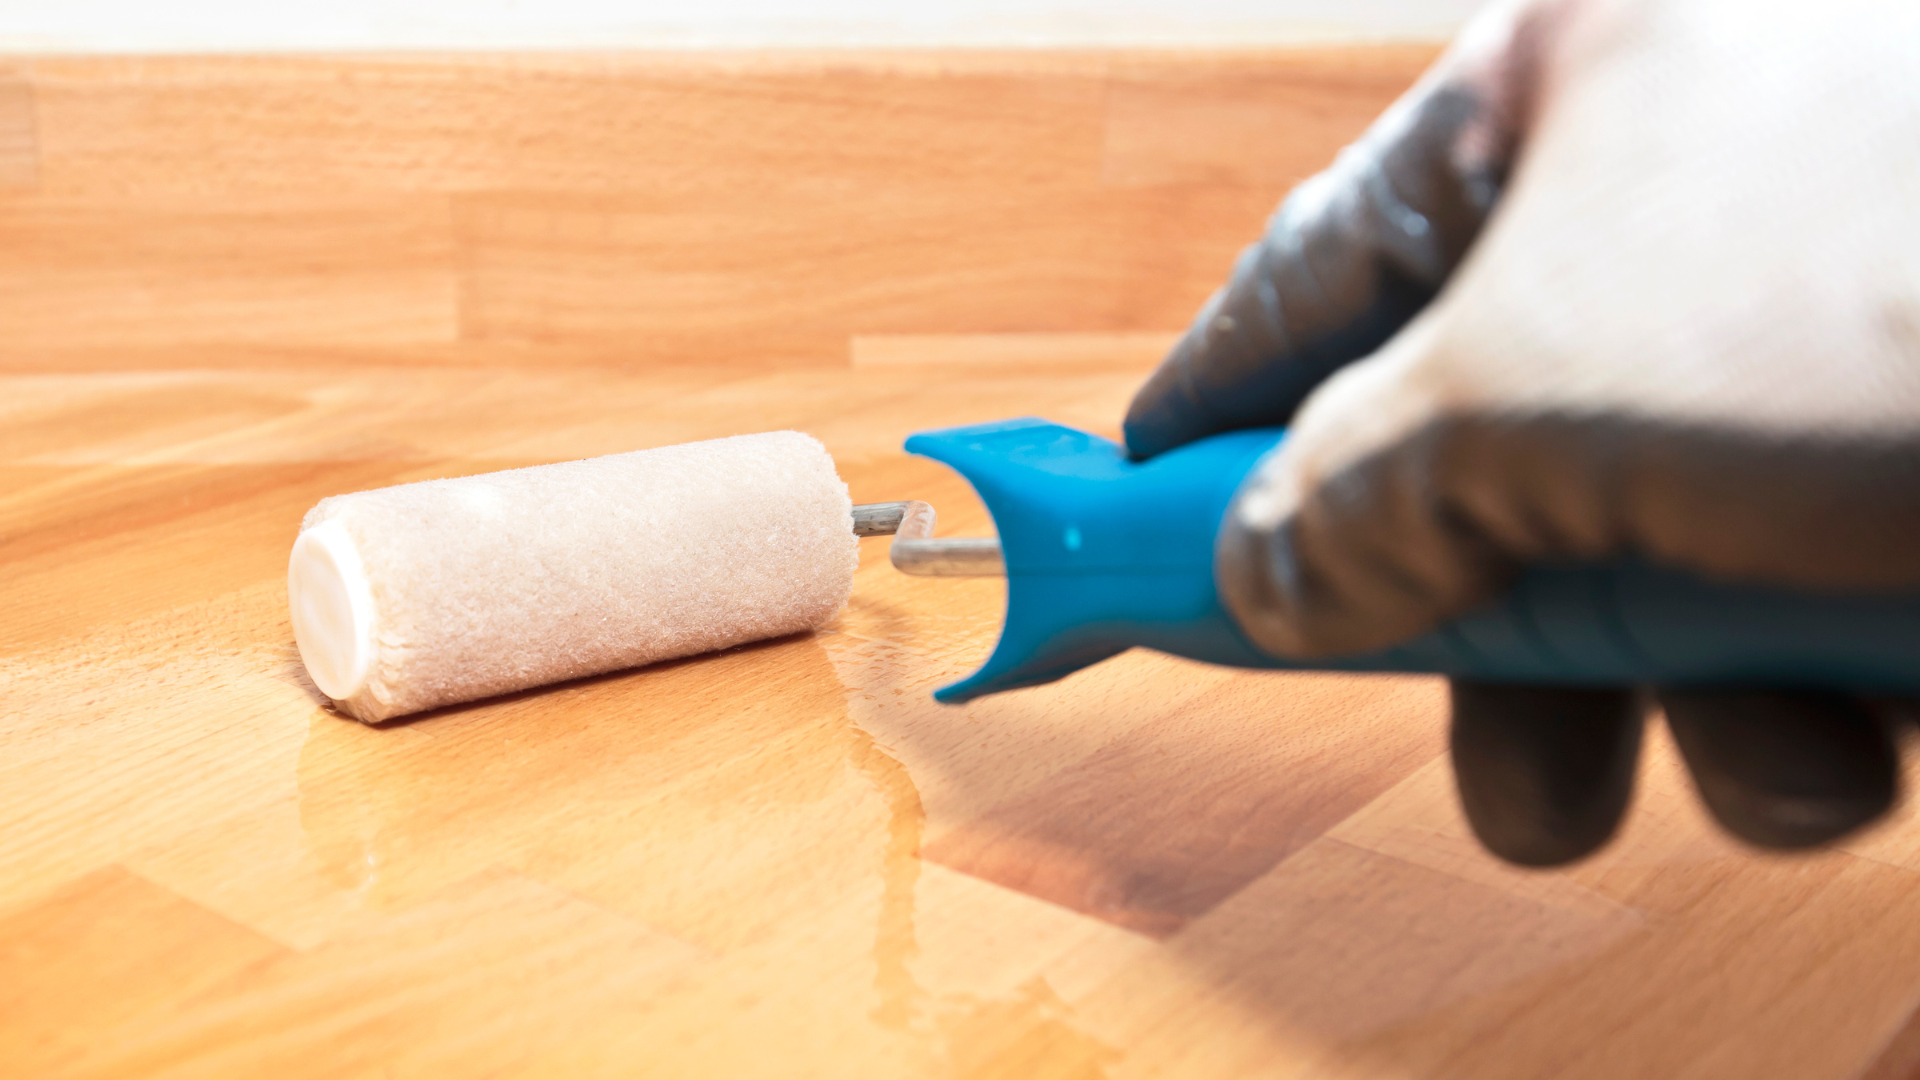
- Use the Right Tools: Select foam rollers, soft brushes, or sprayers designed for a streak-free finish.
- Work in Thin Layers: Apply multiple thin coats rather than one thick coat. Allow each layer to dry before reapplying.
- Maintain a Wet Edge: To avoid lap marks, maintain a wet edge as you work across the surface.
- Optional Buffing: For an ultra-smooth satin look, lightly buff the surface between coats with fine-grit sandpaper.
Step 3: Caring for Your Satin Finish
Proper care ensures your satin finish stays elegant for years:
- Gentle Cleaning: Use a damp cloth or mild detergent for regular cleaning. Avoid abrasive cleaners.
- Add Protective Layers: For high-traffic areas, consider applying a satin polyurethane or wax for added durability.
- Avoid Scratches: Use coasters, pads, or covers to protect surfaces from scratches and stains.
- Periodic Touch-Ups: Keep a small amount of leftover product for quick touch-ups when needed.
Creating a satin finish is all about balance—between preparation, precision, and preservation. With the right tools, techniques, and aftercare, you can achieve a timeless, understated sheen that transforms any surface into a statement piece. Whether enhancing furniture or refreshing a room, a satin finish offers versatility and charm that never goes out of style.